How do I install a Dymo LabelWriter 450 with the correct driver?
Installing a Dymo LabelWriter for the first time can cause a lot of problems and uncertainties, because there's a lot to be done from the moment you receive the printer until you print your ideal label. Fortunately, Zolemba brings you some comfort. With this Dymo LabelWriter 450 manual, you are ensured that you install the Dymo LabelWriter 450 successfully and can start printing in no time. This installation manual also applies to the following Dymo Label printers:
Installing Dymo LabelWriter 450: The First Step
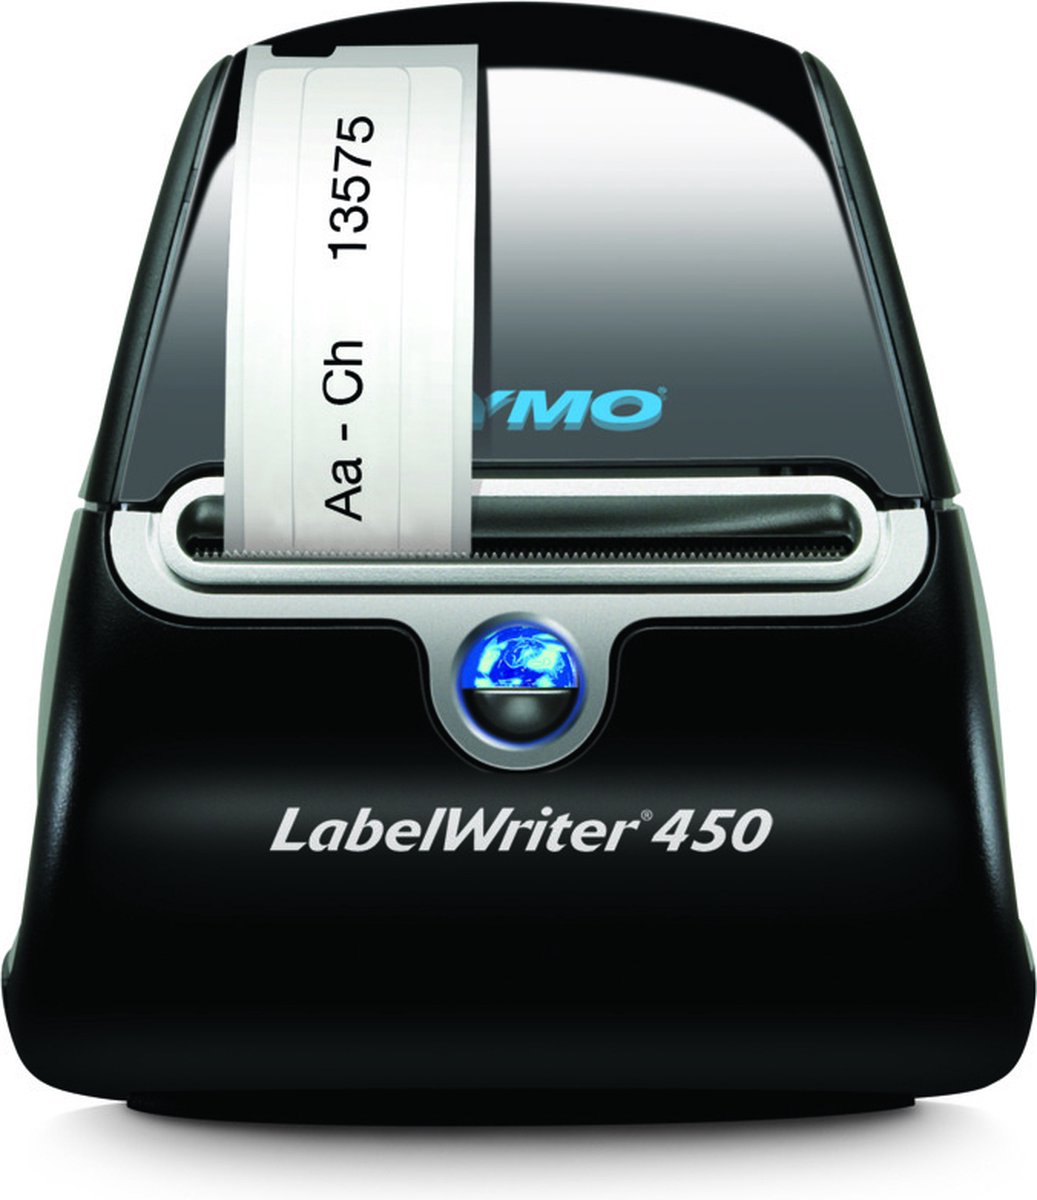
The Dymo LabelWriter 450 is a powerful label printer that is perfect for creating
professional
labels in all shapes and sizes. Whether you're working at home, in an office, or in a
warehouse,
this versatile printer can be a huge help in organizing and labeling all kinds of items.
With
its fast print speed and easy-to-use software, the Dymo LabelWriter 450 offers a simple and
efficient solution for all your labeling needs.
To make it even easier to get started with your label printer, we at Zolemba have described
step
by step how to install your Dymo LabelWriter 450 below.
Before we really get started: Do not connect your printer to your PC or Mac with
the
USB cable yet. This can cause your label writer to appear as "unknown" in the
list
of devices. Not very convenient if you want to easily find it later. Just start by calmly
unpacking the Dymo LabelWriter 450. First, take out all the parts from the box and then
calmly
follow this step-by-step plan.
The right Dymo LabelWriter 450 software
First of all, you need the correct driver to install your driver, in this case the Dymo
LabelWriter
450 driver. You need this to make your label printer work properly on your PC or Mac. The Dymo
LabelWriter 450 driver installation is slightly different on both systems. Below we have split
both
options for you so that you can easily follow the installation procedure for Mac or Windows.
Click on one of the links below to go directly to the correct section:
Exclusive Offers and Free Tips!
Stay informed and never miss out on offers, handy tips, or free templates.
Thank you! You have successfully subscribed to our newsletter.
Install Dymo LabelWriter 450 on Windows
step 1:
Connect the Dymo LabelWriter 450 printer to your Windows computer using the USB cable that comes with the printer. Make sure the printer is turned on before connecting the USB cable.
step 2:
Go to the Dymo website and click on "The latest Software & Drivers for all LabelWriters and LabelManagers". Select the driver for Windows and wait for the Dymo LabelWriter 450 software for Windows 10 or Dymo LabelWriter 450 software for Windows 11 to download. You can access the page via this link:Download Dymo LabelWriter 450 software

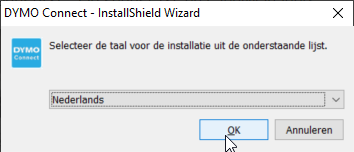
step 3:
Double-click on the installation program to start it and select the language in which you want to perform the installation, and click the "OK" button to continue. The installation instructions and notifications will be displayed in the selected language.
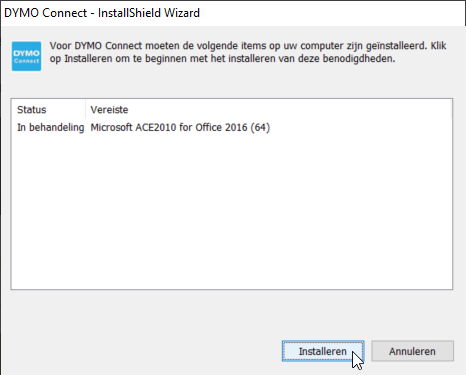
step 4:
Click on "Install" to start the software installation.
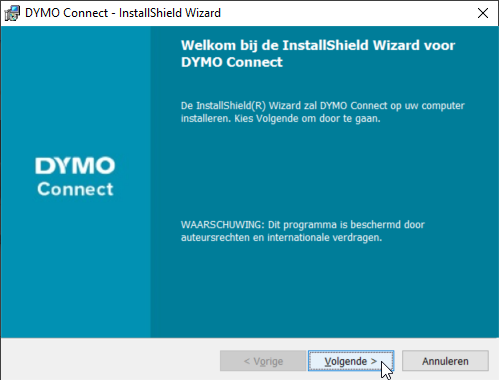
step 5:
After the installation is complete, you will see the screen below. Click on "Next" to continue.
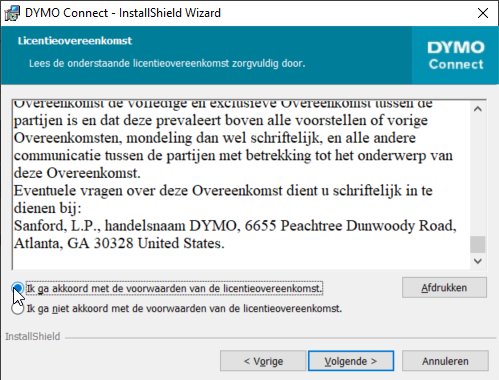
step 6:
Make sure you have checked "I accept the terms in the license agreement". Once you have done this, you can click on "Next".
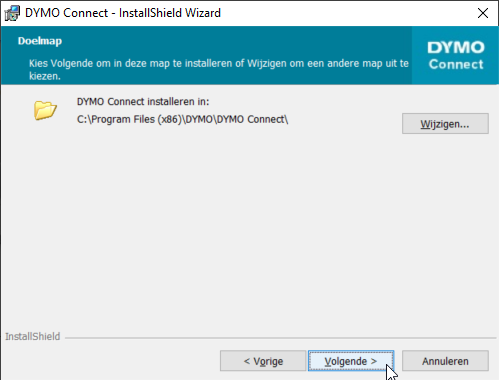
step 7:
Next, you can choose the location where you want to install the software. By default, the software will be installed in the "Program Files" folder on your computer, but you can change the location if you wish. Once you are satisfied with the location of the software, you can click on "Next".
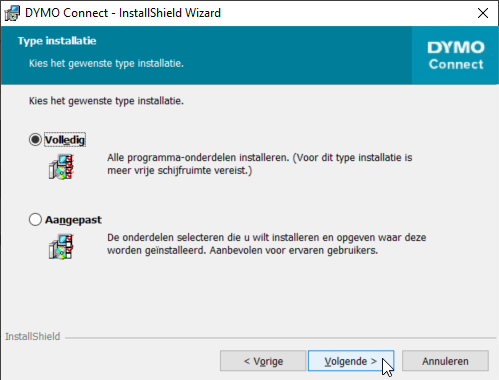
step 8:
Make sure you have selected "Full" and click on "Next".
step 9:
Click on "Install" to start the software installation.

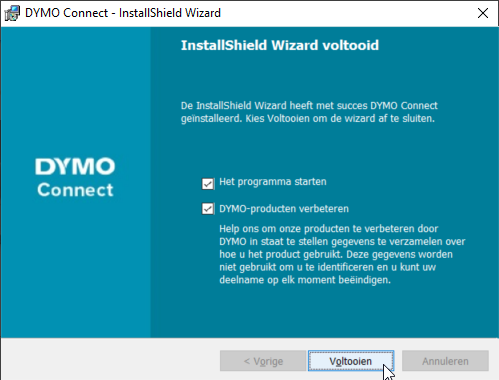
step 10:
The Dymo LabelWriter 450 software is now downloaded, make sure you have checked the box "Launch the program". The "Improve DYMO products" box is optional. Once you click on "Finish", the program will automatically start and you can start designing and printing your Dymo LabelWriter 450 labels.
step 11:
Test the printer by printing a label. Select the "New" option in the top left corner to begin designing a label.

step 12:
Select the Dymo LabelWriter 450 as the printer. If it is not listed here, make sure the printer is connected properly.

step 13:
Select the correct label size that corresponds to the labels in your Dymo LabelWriter 450. You can select both portrait and landscape for all sizes.

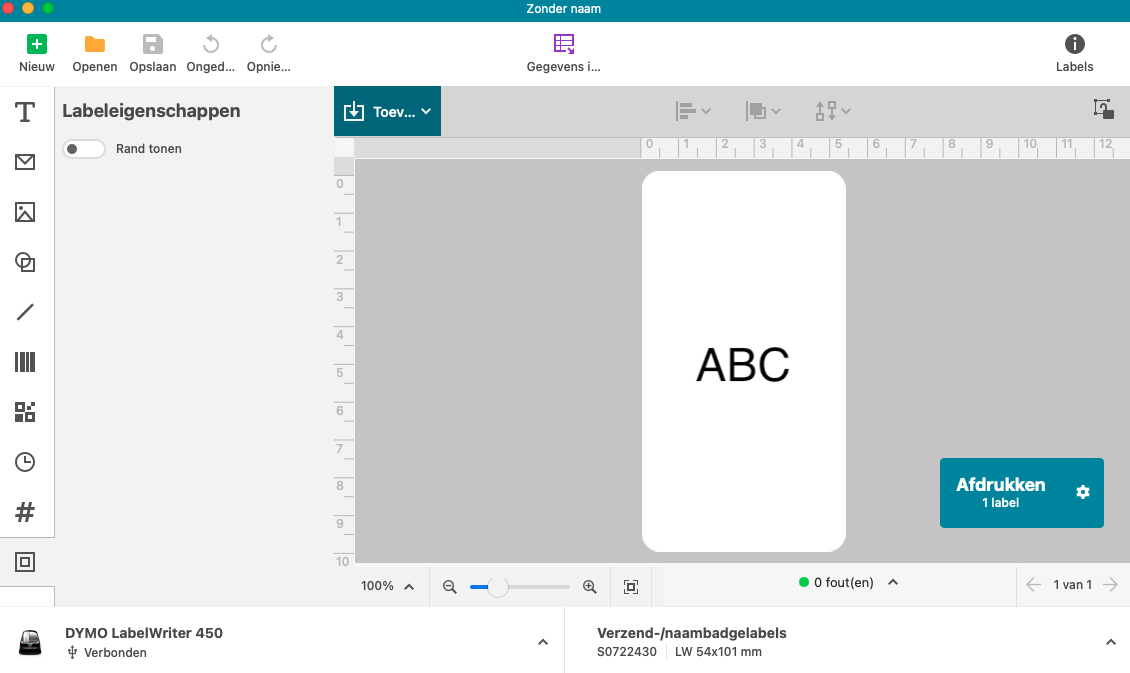
step 14:
Click "Open" in the bottom right corner to design your label.

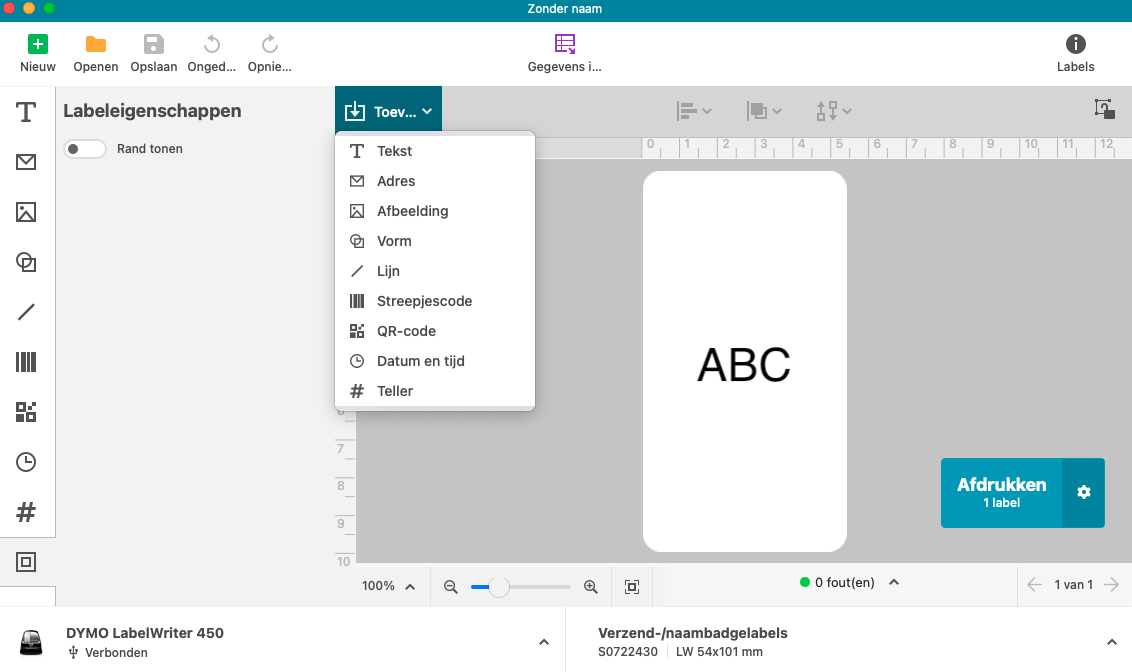
step 15:
Click on the "Add" tab to place your text, images, etc. on your label.

step 16:
Click the "Print" button to print the label. The Dymo LabelWriter 450 will automatically print the label you have designed and configured. If the label is not printed correctly, restart the printer and try again. It may also help to reconnect the USB cable.

Congratulations!
You can now get started with your Dymo LabelWriter 450, at least if you still have enough Dymo labels at home. You can also quickly and easily order these from Zolemba. Check out all Dymo LabelWriter 450 labels. If you have any questions about installing your Dymo LabelWriter 450 or any other Dymo label printer, please feel free to contact us. The Zolemba team is ready to help you get started with your Dymo printer as quickly as possible!
Note: If you are thinking about the next step in label printing, we recommend against purchasing a Dymo LabelWriter 550. This printer is designed by Dymo to exclusively print Dymo labels. These labels are more expensive and limit your label options. The Dymo Labelwriter 450 series accepts all Dymo compatible labels and is therefore a much cheaper option.
Install Dymo LabelWriter 450 via Mac and Cups drivers
step 1:
Connect the Dymo LabelWriter 450 printer to your Mac computer using the USB cable that comes with the printer. Make sure the printer is turned on before connecting the USB cable.
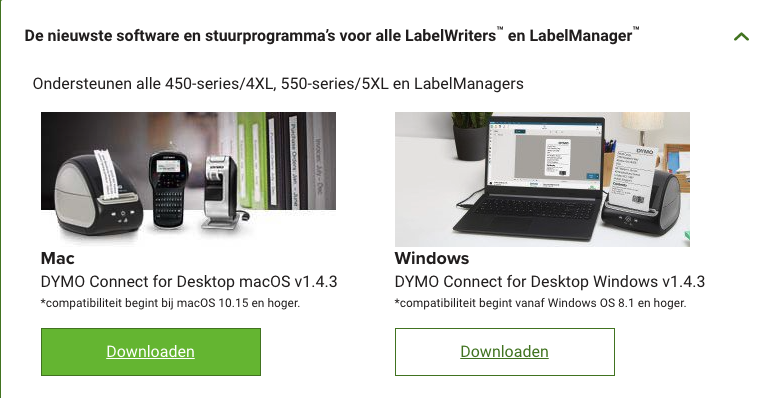
step 2:
Go to the Dymo website under the heading "Download Drivers & Software". Click on "The Latest Software & Drivers for all Labelwriter and Labelmanager". Then select the driver for Mac and wait for the Dymo LabelWriter software for Mac to download. You can find the software via this link:Download Dymo LabelWriter 450 software
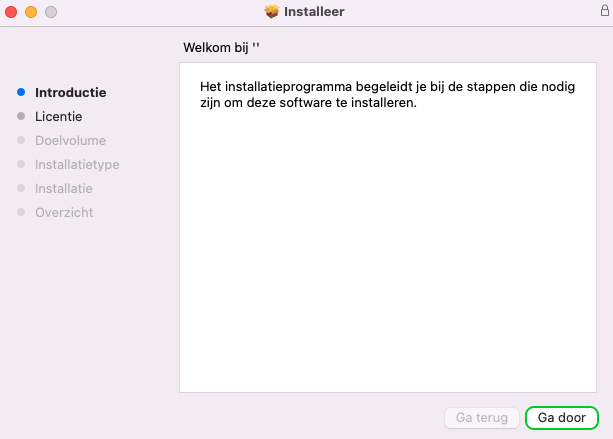
step 3:
Double-click the installation program to start it and click "Continue". If you are prompted to authorize the installation, enter the administrator password to continue. This is necessary because installation programs can modify system files and settings.
step 4:
Select the language in which you want to perform the installation and click the "OK" button to continue. The installation instructions and notifications will be displayed in the selected language.

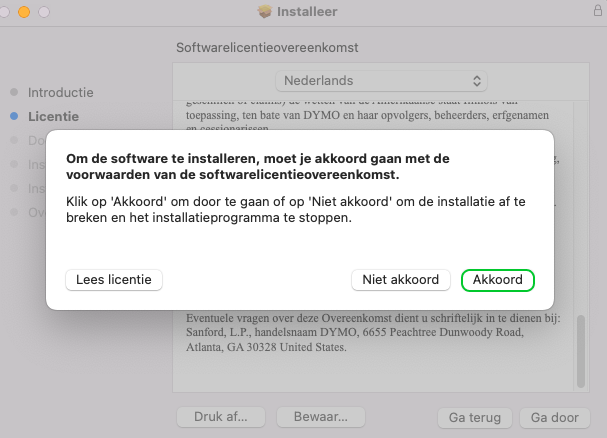
step 5:
Follow the on-screen instructions to install the Dymo LabelWriter 450 software. Click "Continue" and click "Agree" when asked to agree to the software license agreement.

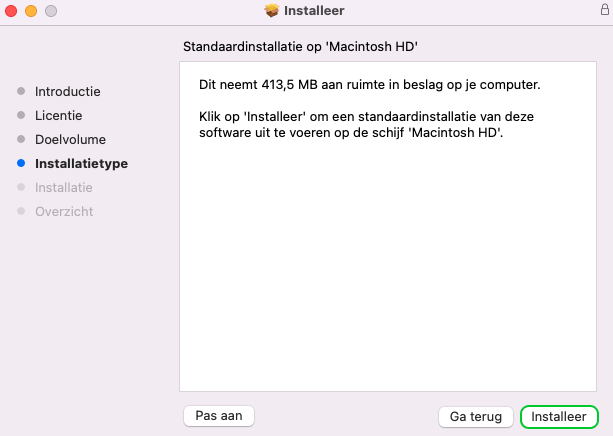
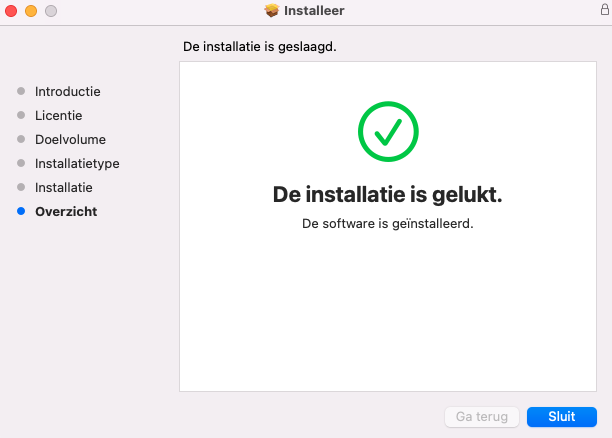
step 6:
Click "Install" to download the software. This may take a while. Afterwards, you should receive a message indicating that the installation was successful.
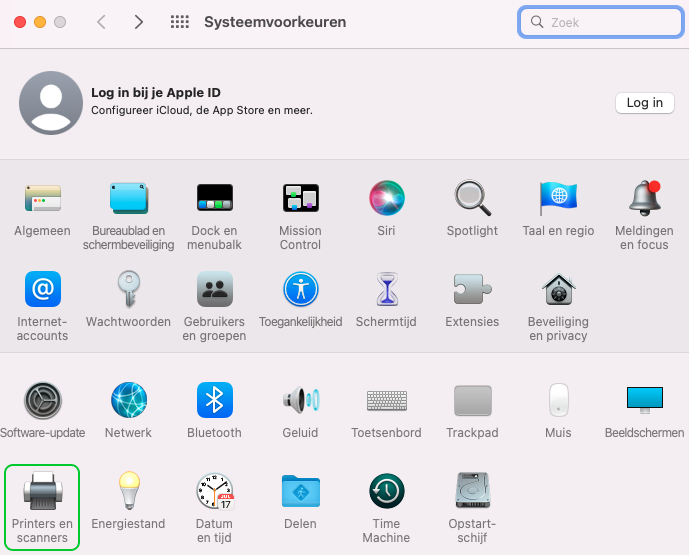
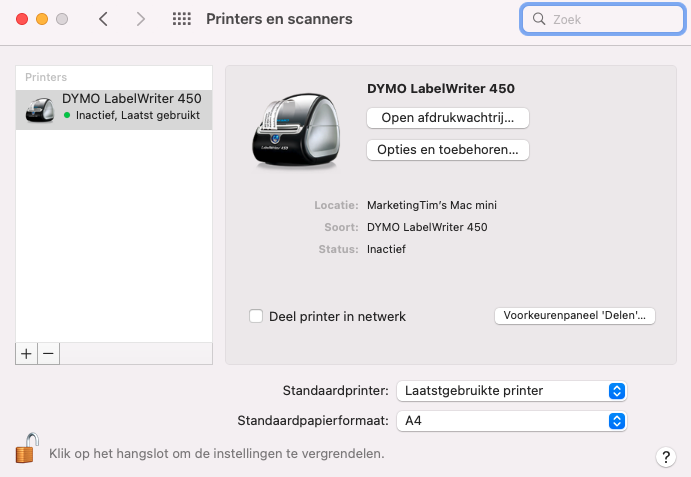
step 7:
Once the software is installed, configure the printer by adding it to the list of printers on your Mac. Go to "System Preferences" and click "Printers and Scanners".
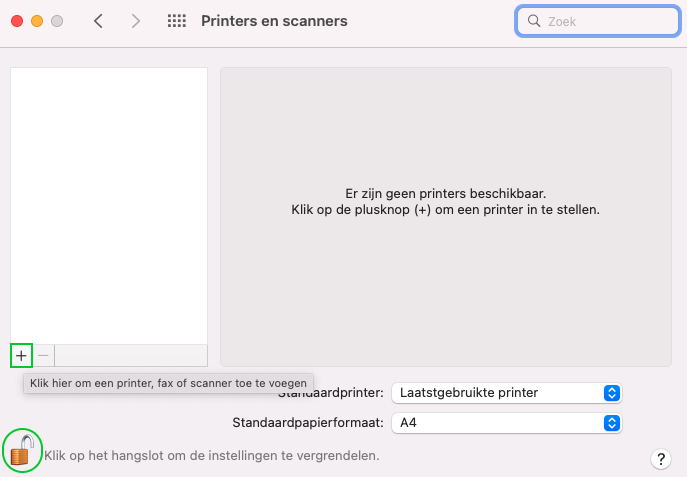
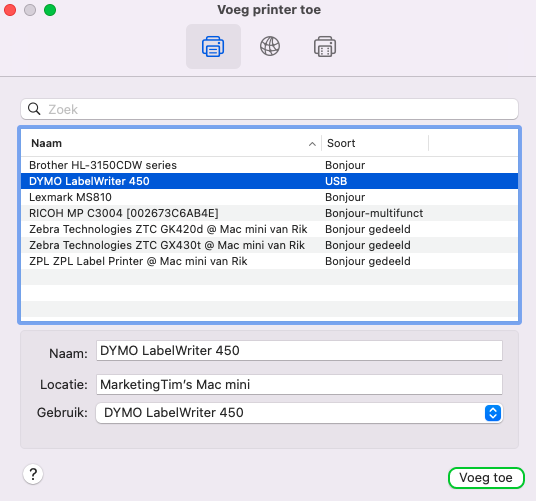
step 8:
Click the "+" button to add a new printer and select the Dymo LabelWriter 450 from the list of available printers. You may need to open the lower left slot on the page to add a new printer.
step 9:
Select the DYMO LabelWriter 450 and click "Add".
step 10:
The Dymo LabelWriter 450 is now added.
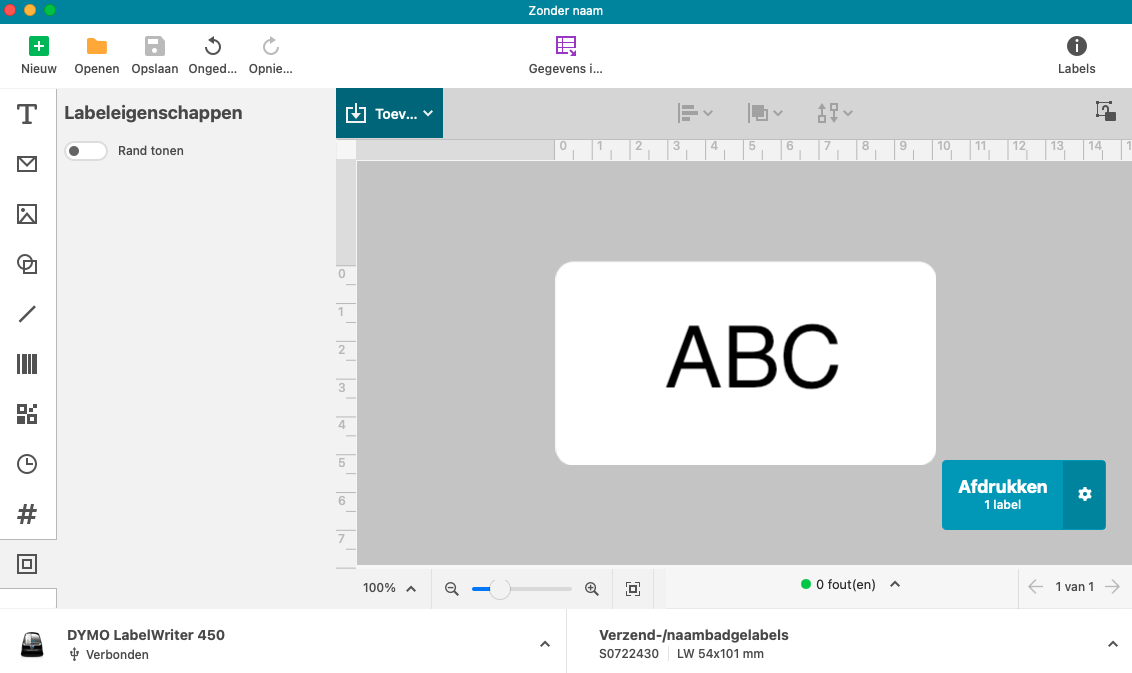
step 11:
Test the printer by printing a label. Open the "DYMO Connect" app and select the "New" option in the upper left corner to begin designing a label.
step 12:
Select the Dymo LabelWriter 450 as the printer. If it is not listed, make sure the printer is properly connected and check if it has been added to printers and scanners. (see steps 7-10)
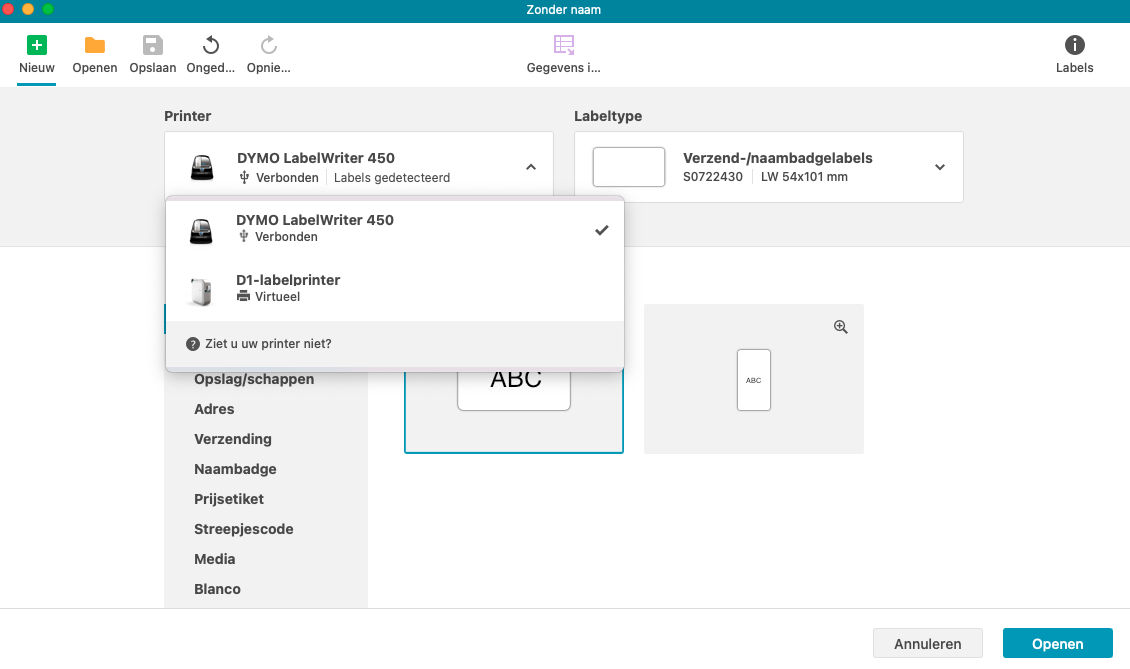
step 13:
Select the correct label size that corresponds to the labels in your Dymo LabelWriter 450. You can select both portrait and landscape for all sizes.
step 14:
Click "Open" in the bottom right corner to design your label.
step 15:
Click on the "Add" tab to place your text, images, etc. on your label.
step 16:
Click the "Print" button to print the label. The printer will automatically print the label you just designed and configured. If the label doesn't print correctly, restart the printer and try again. It may also help to reconnect the USB cable or re-add the printer to the list of printers on your Mac.
Congratulations!
You can now get started with your Dymo LabelWriter 450, that is if you have enough Dymo labels at home. You can quickly and easily order these from Zolemba, take a look at all the Dymo LabelWriter 450 labels. If you still have any questions about installing your Dymo LabelWriter 450 or any other Dymo label printer, please feel free to contact us. The Zolemba team is ready to help you so that you can quickly get started with your Dymo printer!
Note: If you are considering the next step in label printing, we do not recommend purchasing a Dymo LabelWriter 550. This printer is designed by Dymo to print exclusively on Dymo labels. These labels are more expensive and limit your choice of labels. Whereas the Dymo LabelWriter 450 series accepts all Dymo compatible labels and is therefore a much cheaper option.